Introduction #
The VeilNet Portal is a self-hostable relay node that powers the decentralized backbone of the VeilNet network. Designed for users who want to contribute bandwidth and relay capabilities to the VeilNet ecosystem, the Portal securely forwards encrypted traffic between VeilNet clients (called Rifts) without logging or revealing user identities.
By self-hosting a Portal, you help expand the VeilNet infrastructure, improve network resilience, and earn Measurement of Participation (MP) credits — all while retaining full control over your node. Portals can be deployed on cloud servers, personal machines, or edge devices using containerized setups, making them ideal for both individuals and organizations.
This documentation will guide you through:
System requirements and prerequisites
Installation methods (Docker, Kubernetes, or bare-metal)
Configuration of public and private domains
Security and network considerations
Monitoring, updates, and best practices
Whether you’re supporting the network as a community contributor or running infrastructure for a private Veil, this guide will help you get your VeilNet Portal up and running smoothly.
Pre-requirements #
Before deploying your own VeilNet Portal, make sure your environment meets the following basic requirements. VeilNet’s architecture removes the need for public IP addresses or domain names — allowing seamless deployment even behind NAT or in private networks.
1. System Requirements #
CPU: Minimum 1 vCPU (2+ recommended for performance)
Memory: Minimum 512 MB RAM (1 GB+ recommended)
Storage: At least 1 GB free disk space
Operating System: Any Linux distribution (Ubuntu, Debian, Alpine, etc.)
Architecture: x86 or amd64
2. Network Requirements #
Outbound Internet Access: Required for the Portal to connect to the VeilNet coordination network and forward traffic.
NAT Traversal: No manual port forwarding required — VeilNet uses WebRTC and other techniques to traverse NATs automatically.
3. Container Runtime #
Docker (Recommended): Most users should install Docker and Docker Compose.
Kubernetes (Optional): Supported for advanced users running clusters or needing orchestration.
4. VeilNet Console Access #
You must have a VeilNet Console account to register and initialize your Portal.
The Console provides a downloadable manifest file containing the configuration and credentials required to bootstrap your Portal.
5. Basic Command Line Skills #
You should be able to run terminal commands, modify YAML files, and manage containers or services on your system.
Step 1: Register a VeilNet Account #
Before setting up your Portal, you need to create a VeilNet account. This account allows you to register and manage your Portal node via the VeilNet Console or Rift client.
✅ No credit card required #
VeilNet MP (Measurement of Participation) system allows subcription-free access to VeilNet Public domains, you do not need a credit card during sign up.
📧 Email verification required #
You must verify your email address before you can log in and access the VeilNet Console.
How to register: #
You can register in two ways:
Option A – Using VeilNet Console (Web)
Click Sign Up
Enter your email and password
Check your inbox and verify your email with the verification token.
Option B – Using VeilNet Rift (Client App)
Download and install the VeilNet Rift client (Android, Widnows), it can be downloaded at https://www.veilnet.org/download/
Open the app and choose Sign up
Enter your email and password
Confirm your email via the link sent to your inbox
Once verified, you can proceed to download the Portal manifest and begin deployment.
Step 2: Prepare Your Host (Install Docker or Kubernetes) #
If your host already has Docker or Kubernetes installed, you can skip this step.
VeilNet Portal runs as a containerized service. You need either Docker (recommended) or Kubernetes to proceed.
Option A – Install Docker (Recommended) #
Follow the official Docker installation guide for your platform:
👉 https://docs.docker.com/engine/install/
Option B – Install Kubernetes (Optional) #
For users managing clusters or preferring orchestration:
Lightweight local Kubernetes: https://k3s.io
Kubernetes CLI (kubectl): https://kubernetes.io/docs/tasks/tools/
Step 3: Create a Portal from the VeilNet Console #
Once your account is verified and your host is ready, the next step is to create your Portal via the VeilNet Console.
1. Log in to the Console #
Go to https://console.veilnet.org and log in using your registered and verified email.
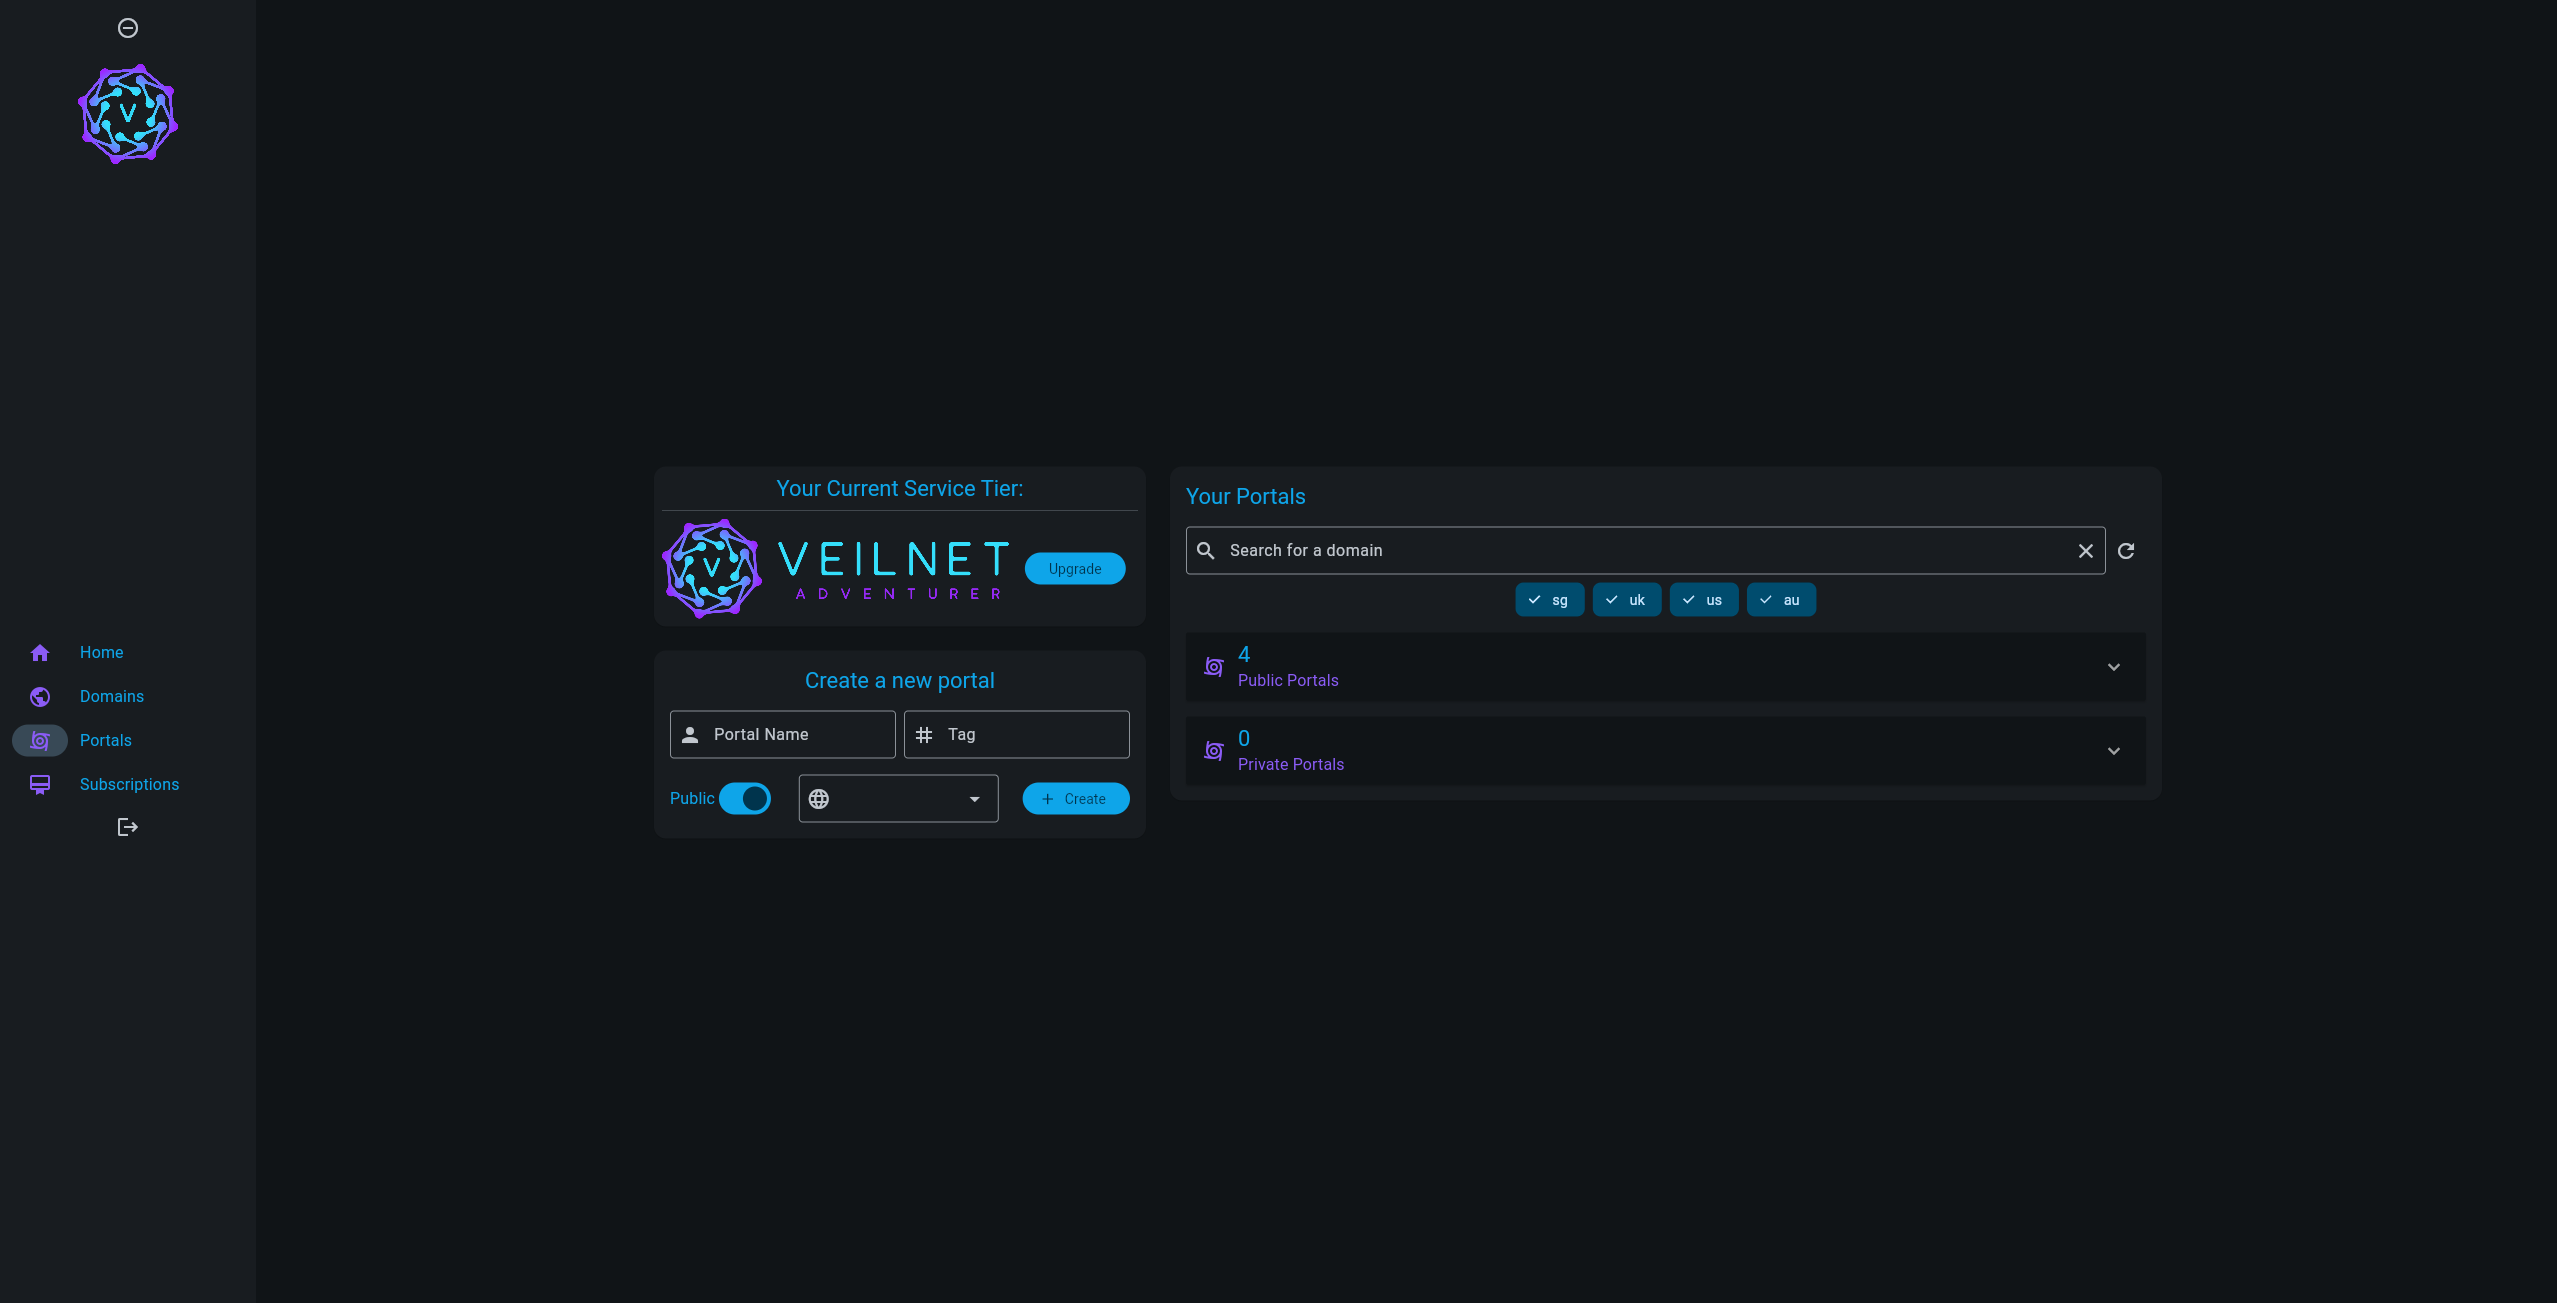
2. Navigate to the Portals section #
On the left-hand sidebar, click on the Portals icon to open the Portal management page.
3. Create a new Portal #
In the “Create a new portal” panel:
Enter a Portal Name (e.g.,
my-home-node)Optionally add a Tag to identify it
Select the visibility:
Public: Contribute to the public Veil and earn MP credits
Private: Use for personal or organizational access only
Click Create
Step 4: Download the Manifest and Start Deployment #
After creating your Portal, it’s time to deploy it using the auto-generated manifest file.
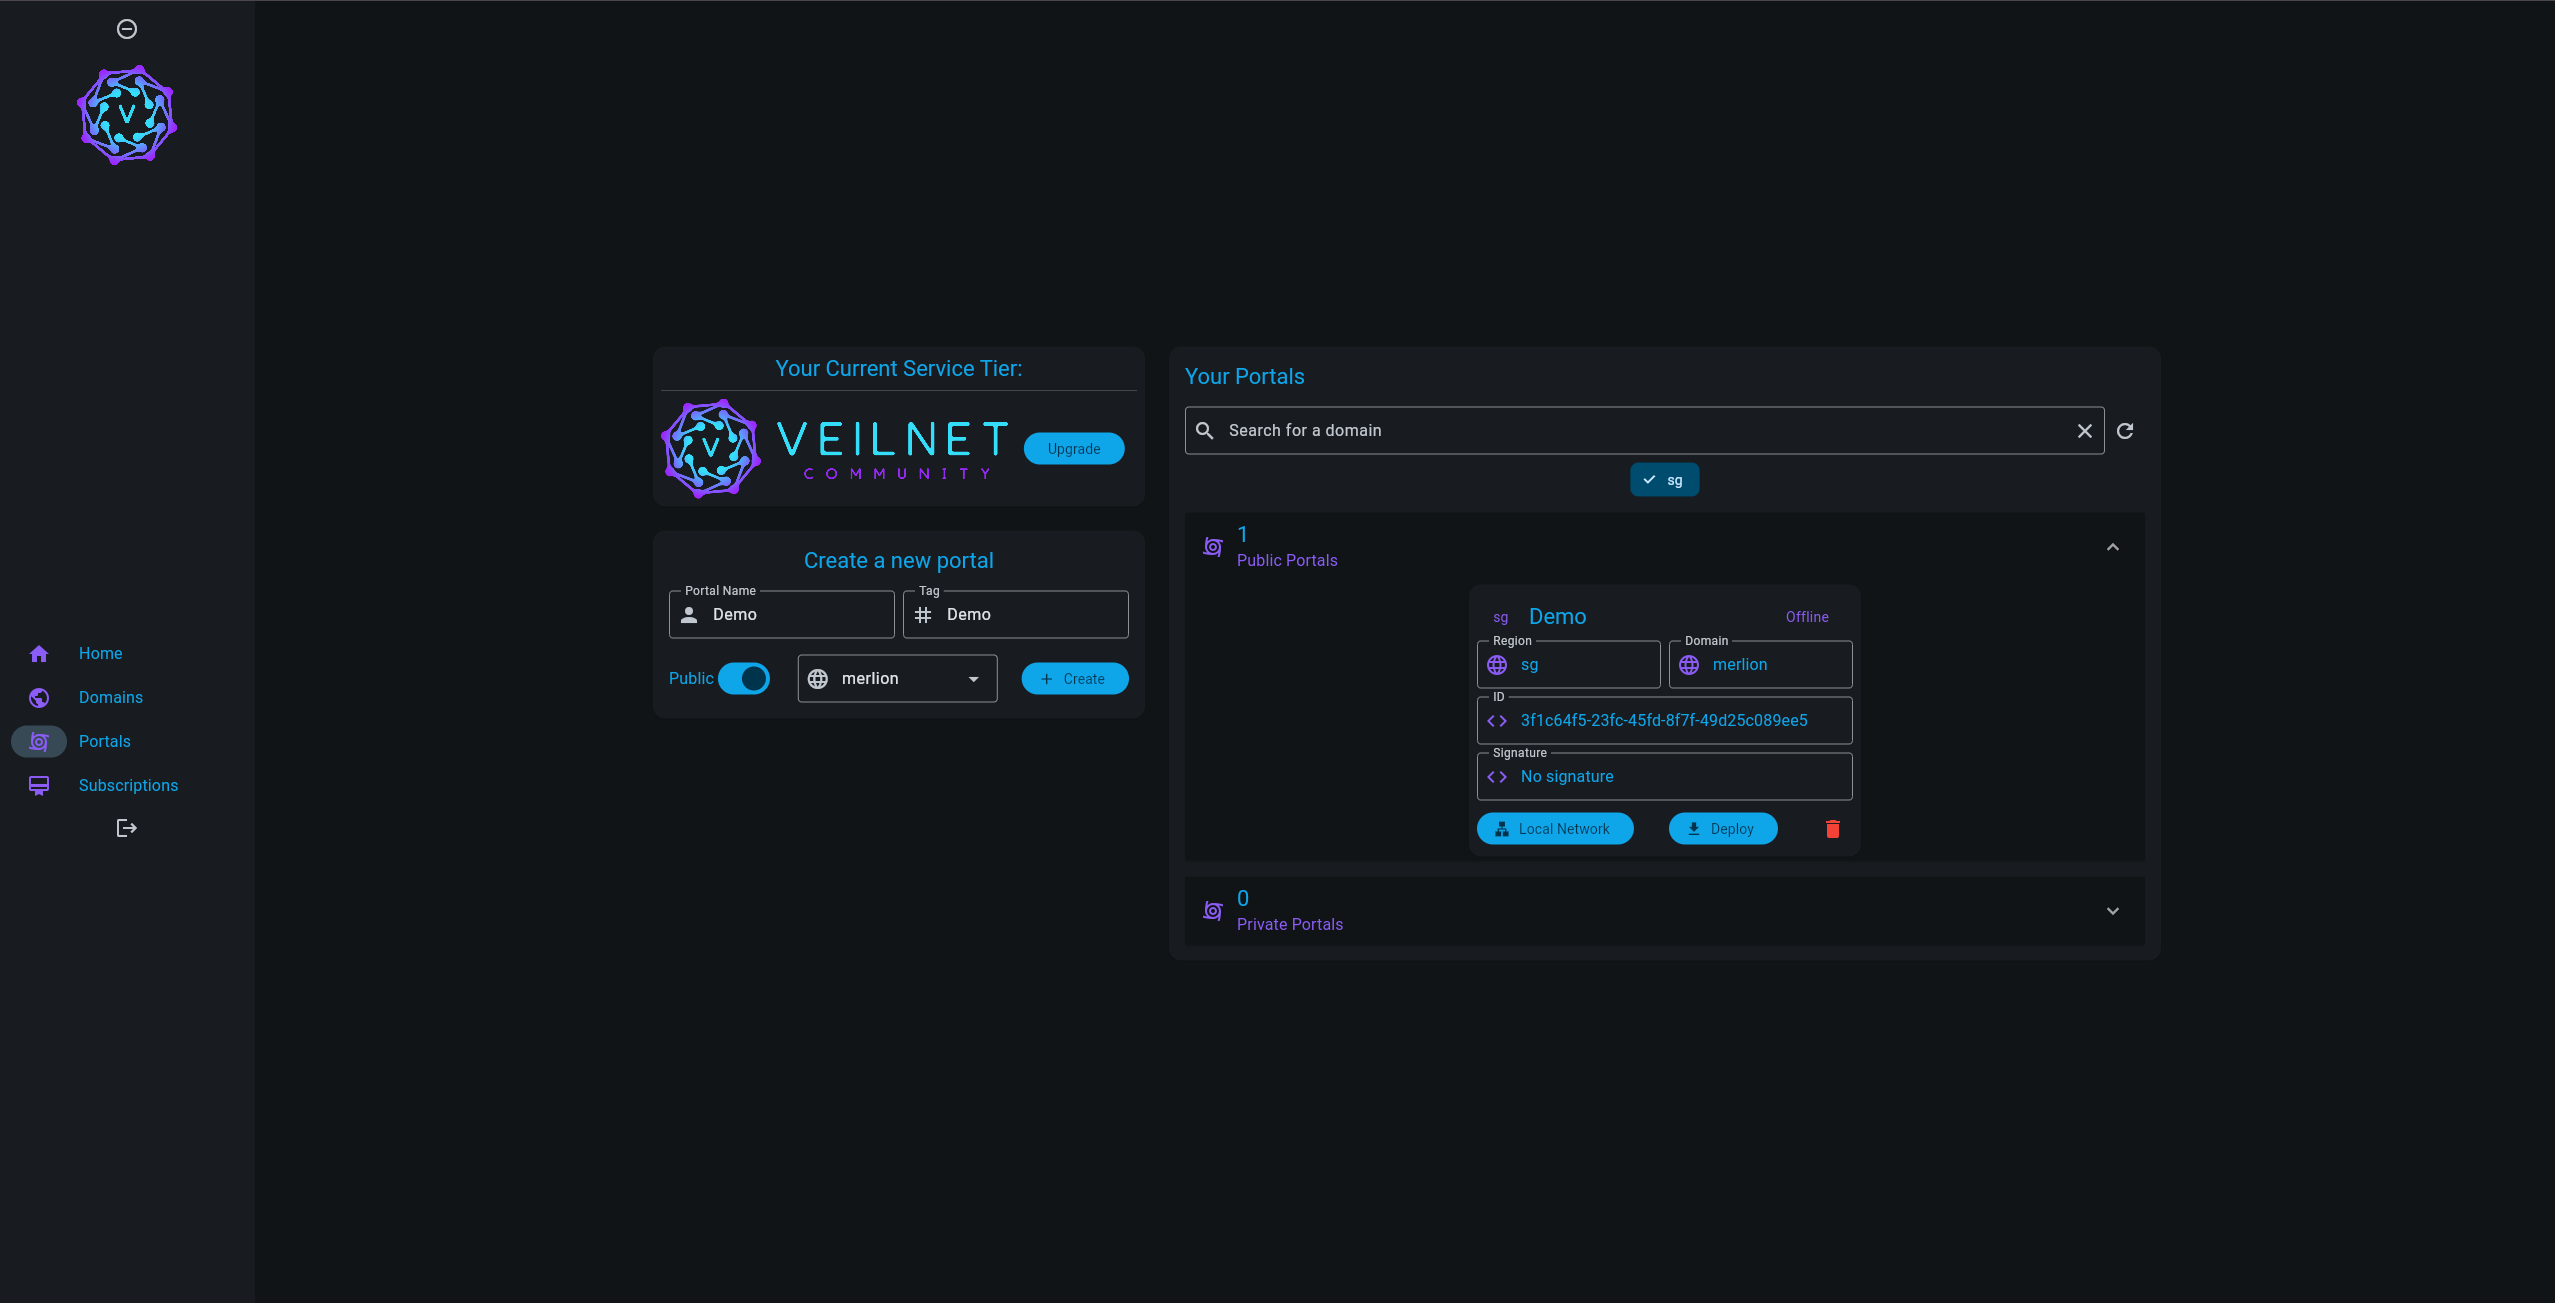
1. Locate Your Portal #
Go to the Portals page in the VeilNet Console.
If your new Portal doesn’t appear immediately, click the refresh button next to the search bar.
2. Open the Deployment Dialog #
Find your Portal in the list. Click the Deploy button.
This opens a dialog containing the Manifest File — a signed configuration document needed to launch your Portal.
3. Review and Download #
Inside the dialog:
Review your Portal ID, region, and domain
You can copy the manifest contents directly or save the file for use in Docker/Kubernetes
📝 Note: This manifest is unique to your Portal and contains its cryptographic identity. Keep it secure.
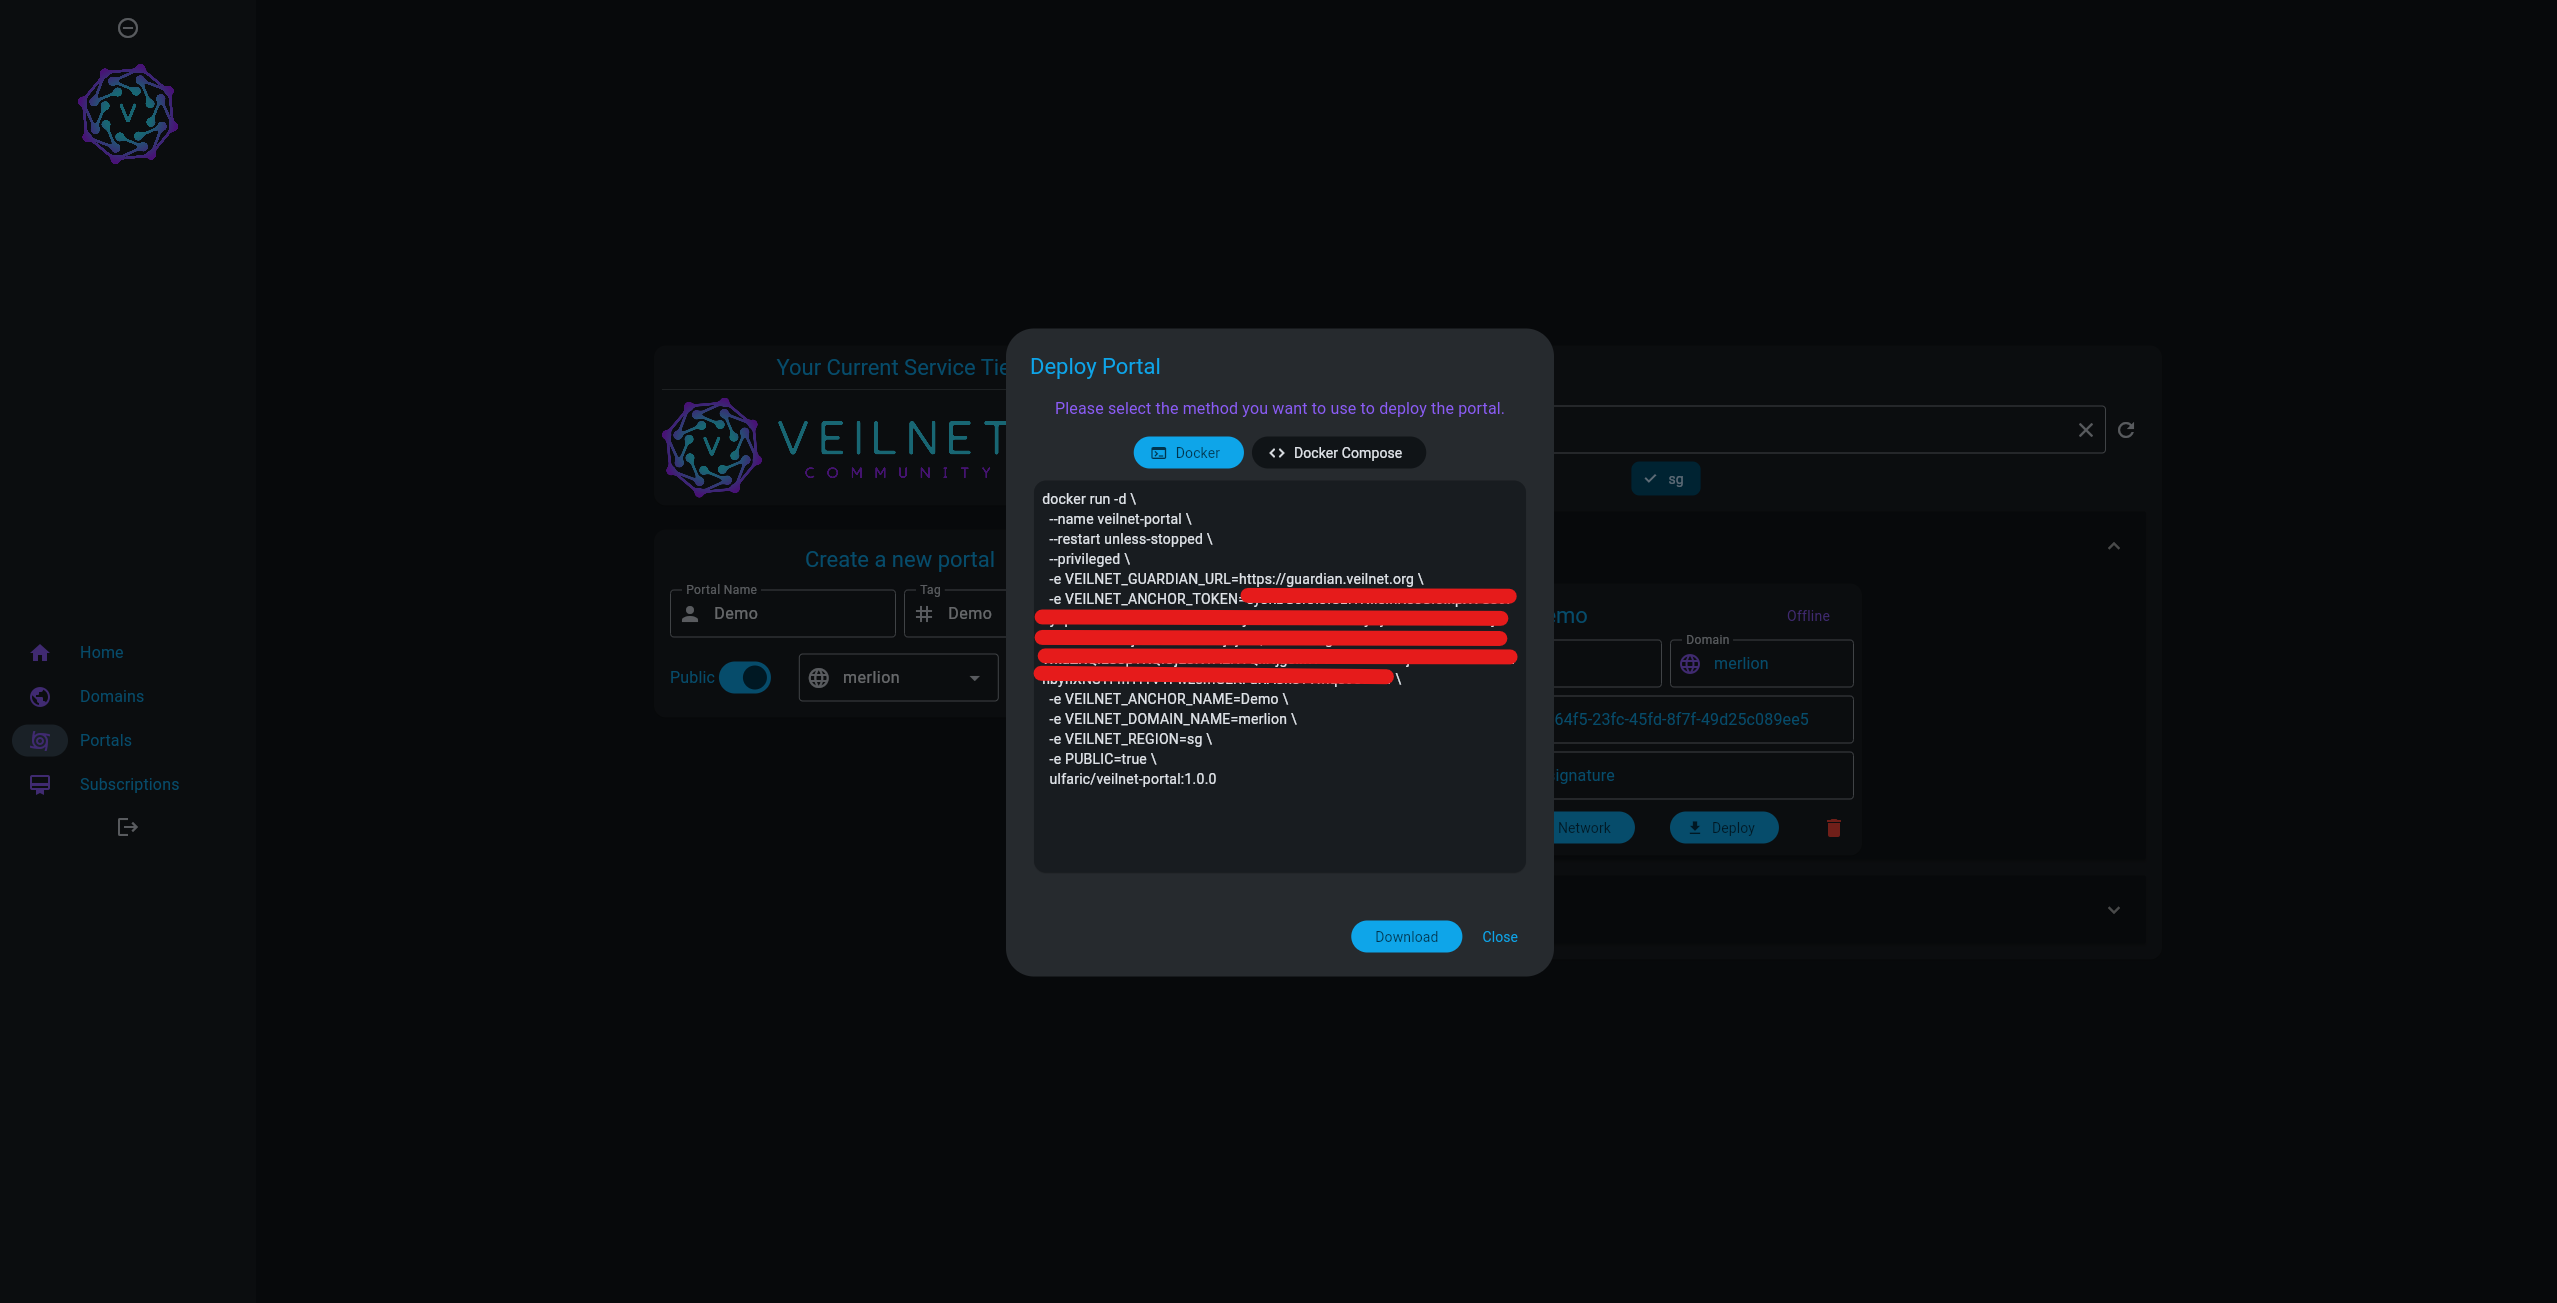
Step 5: Run the Portal – Done! #
You’re now ready to launch your VeilNet Portal.
From the deployment dialog in the Console, choose your preferred method: Docker or Docker Compose, and follow the instructions below.
🐳 Option A – Using docker run (One-liner) #
Copy the docker run command provided in the Console and paste it into your terminal, or download and run the script file:
					docker run -d \
  --name veilnet-portal \
  --restart unless-stopped \
  --privileged \
  -e VEILNET_GUARDIAN_URL=... \
  -e VEILNET_ANCHOR_TOKEN=... \
  -e VEILNET_ANCHOR_NAME=... \
  -e VEILNET_DOMAIN_NAME=... \
  -e VEILNET_REGION=... \
  -e PUBLIC=... \
  ulfaric/veilnet-portal:1.0.0
📄 Option B – Using Docker Compose (Recommended for maintenance) #
Click Docker Compose in the Console’s deployment dialog.
Download the docker-compose.yamlby click the download button.Place the file in any folder, such as “veilnet-portal”.
Run:
docker compose up -d
🎉 Congratulations!
You’re now part of the VeilNet fabric. Your Portal is live, forwarding encrypted traffic, and actively contributing to a more secure, decentralized internet. If it’s set as public, you’ll also start earning MP credits as part of our Measurement of Participation system.
Welcome to the network — and thank you for helping build the future of private, post-quantum communication.


