🔗 Connecting External Networks via VeilNet Portal
VeilNet allows you to securely link an external network (e.g., your local office LAN or cloud VPC) to a VeilNet Domain using a deployed Portal. This enables seamless access to private infrastructure from remote Rift clients — with full encryption and privacy, and no need for public IPs or dynamic DNS.
✅ Requirements #
A deployed VeilNet Portal (public or private domain)
Access to VeilNet Console
Admin privileges to configure routes in your local network/router
⚙️ Steps to Connect External Networks #
Step 1: Deploy the Portal #
Follow standard procedures to deploy a VeilNet Portal. Once connected to the desired domain, it is ready to serve as a gateway.
💡 For Kubernetes environments, you can convert the Docker Compose manifest using Kompose.
Step 2: Add External Network via VeilNet Console #
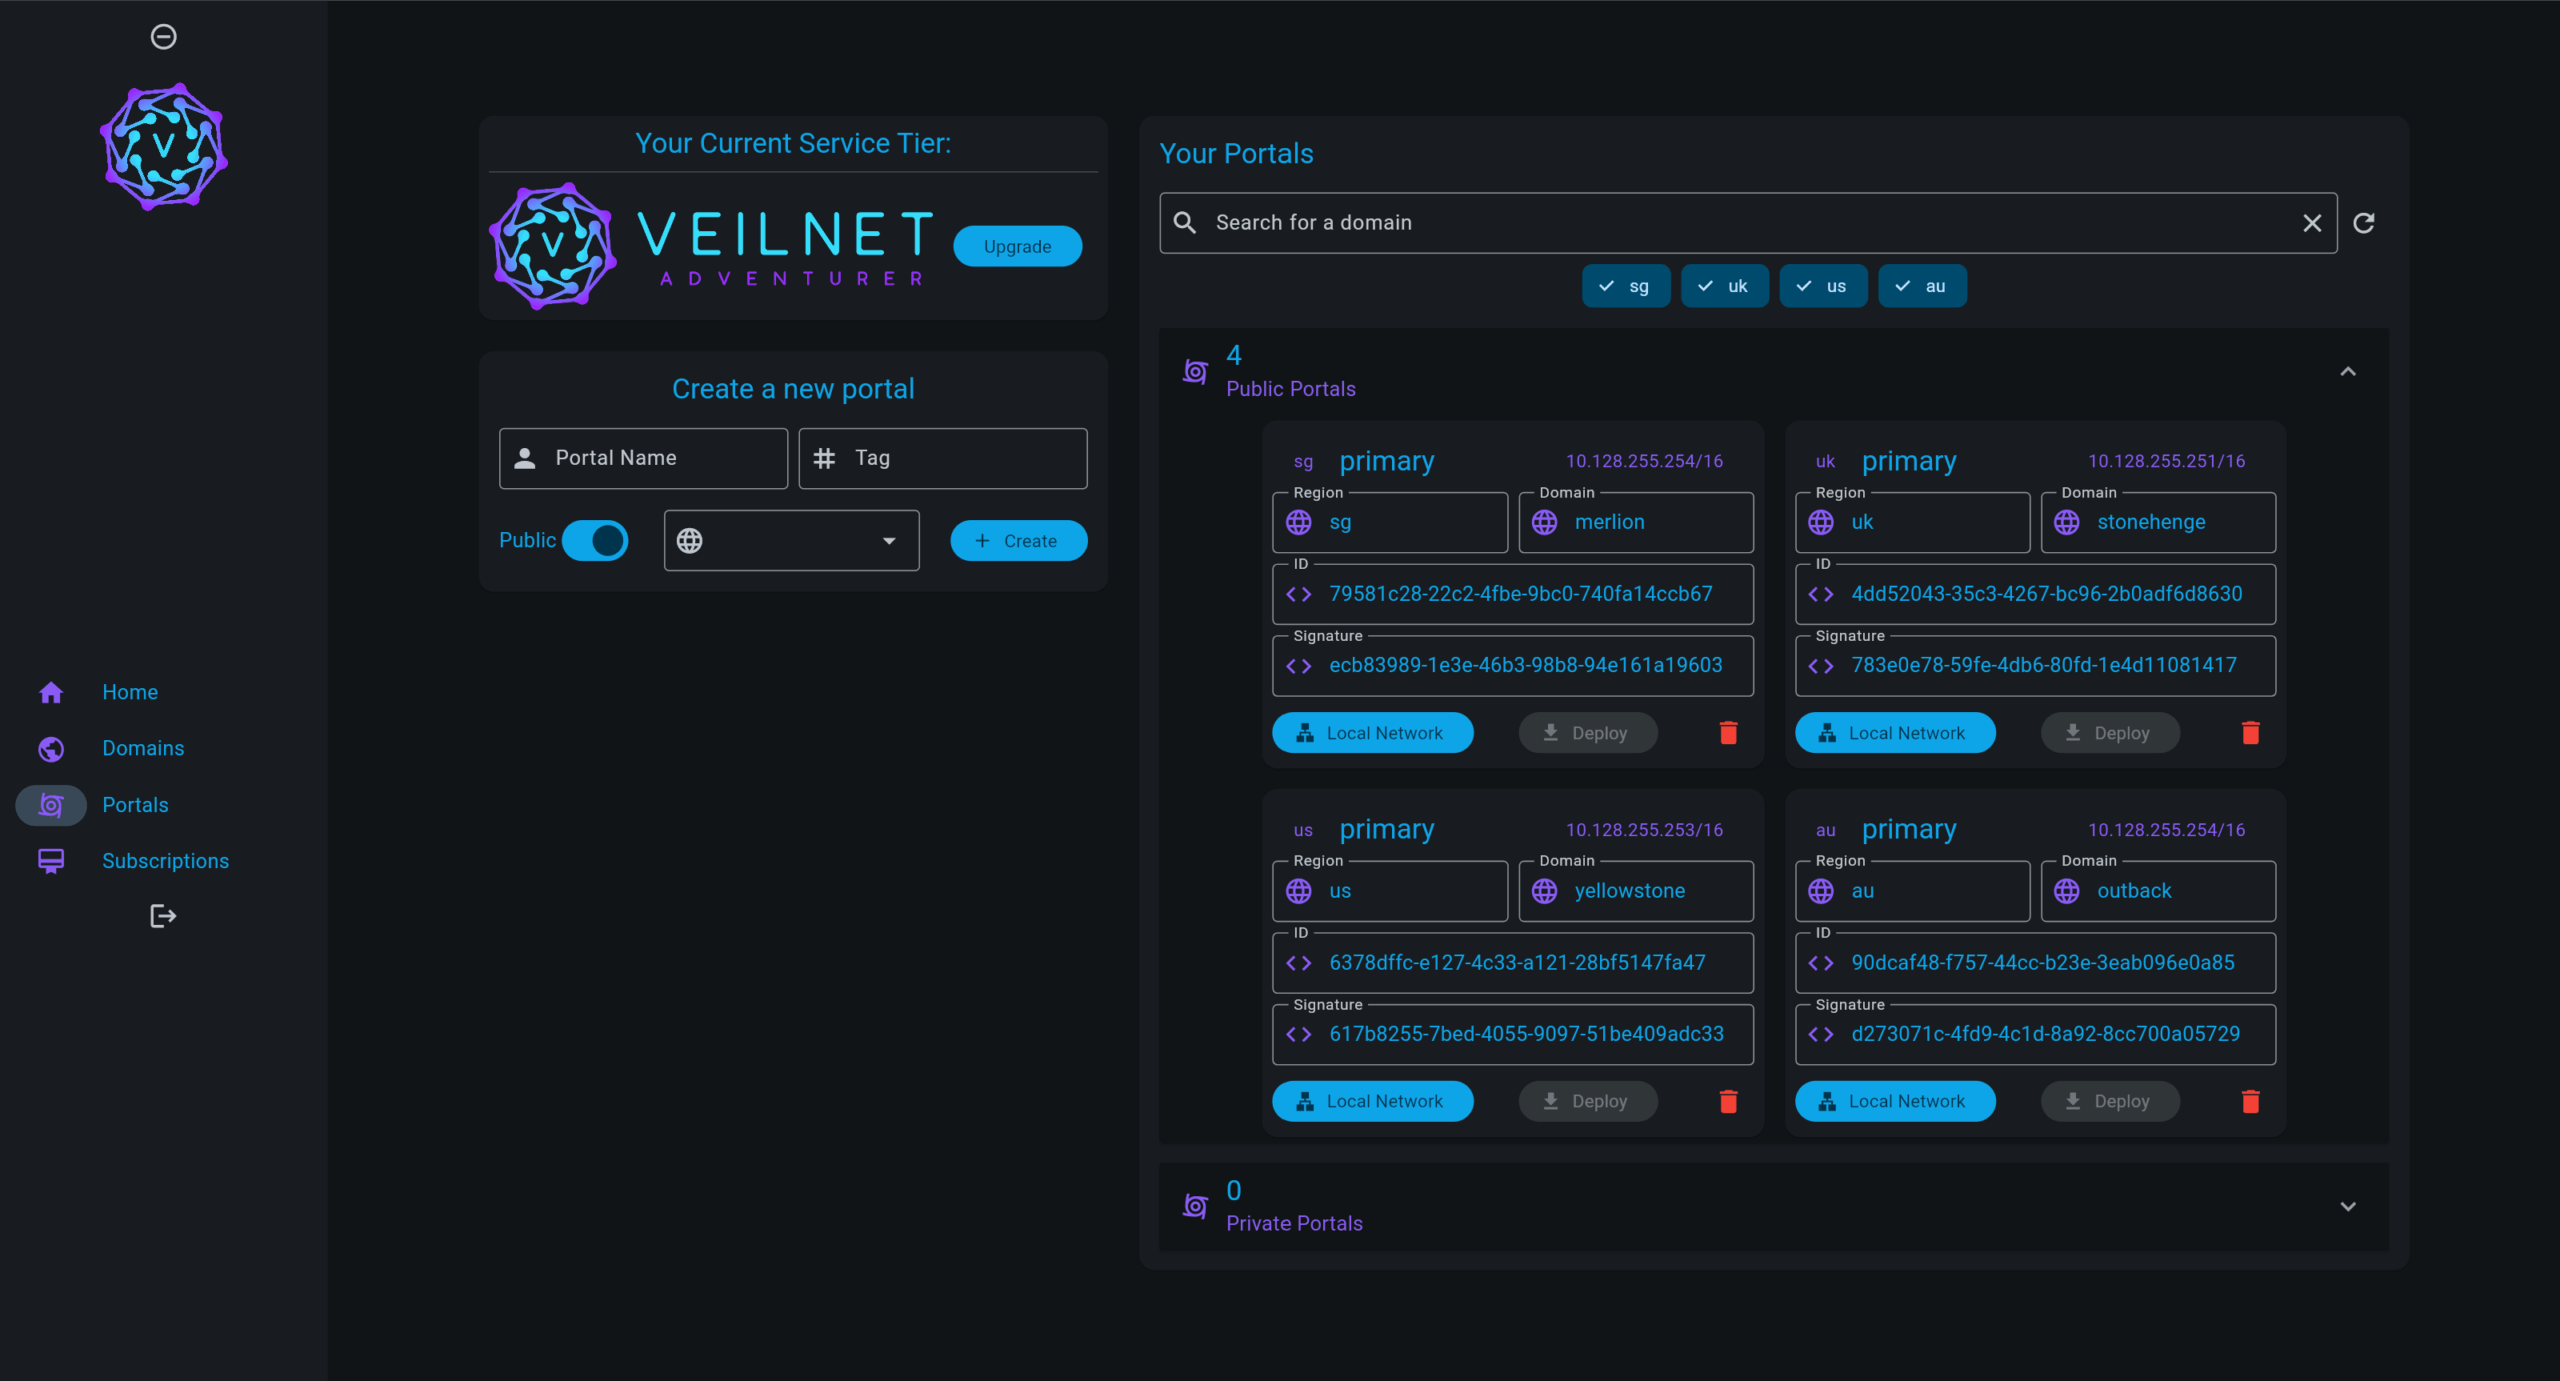
Open VeilNet Console.
Navigate to your Portals, and find the correct portal.
Click “Local Network”.
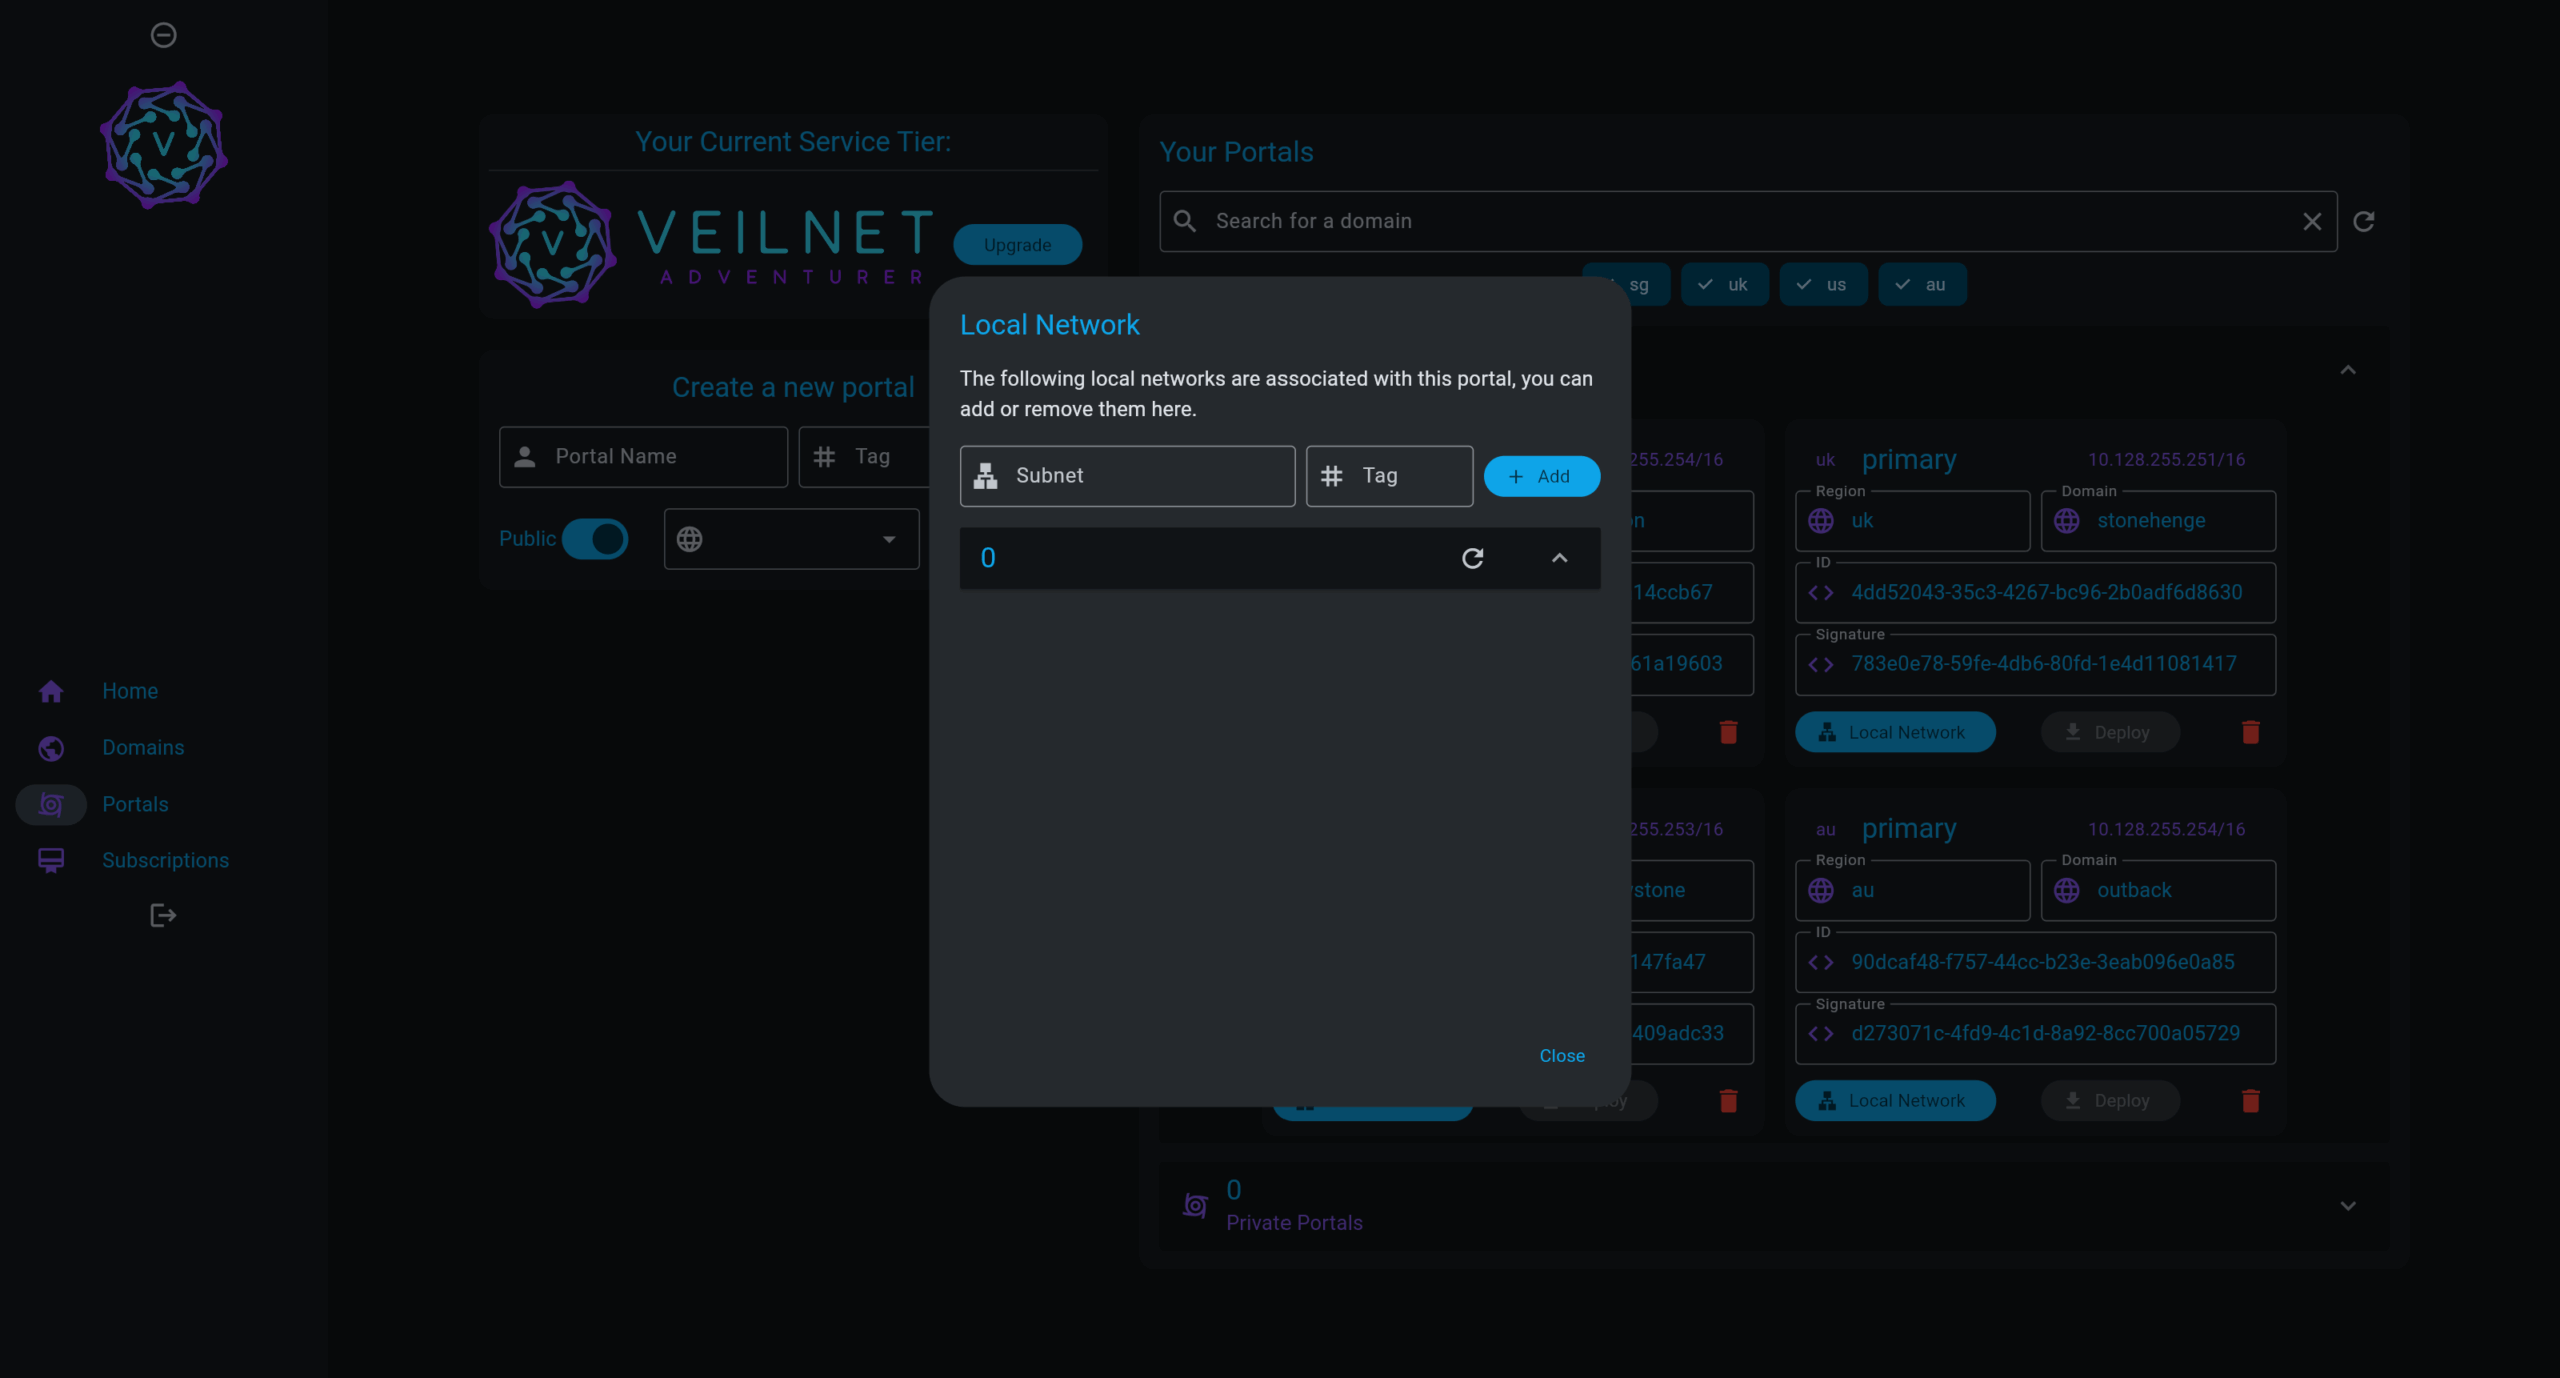
Step 3. Localnetwork dialog #
In the dialog that appears:
Enter your subnet (e.g.,
192.168.1.0/24)Optionally, add a Tag (e.g.,
office,dev-net)Click the “+ Add” button
The new network will appear in the list below.
This action registers your local network with the portal’s routing logic, no restart required, and the configuration persists across portal restarts or redeployments.
⚠️ Warning: To successfully relay the network, the local network must be reachable from the portal. Local firewall rules still apply if any rule blocks the portal from accessing the specified subnet, routing will fail.
🔒 Note: It is secure to relay your local networks even on public domains, because the portal will only respond to traffic originating from another Rift or Portal owned by you.
For private domains, team member functionality is currently under development. In the meantime, we recommend using a single admin account and creating separate private domains per organization or project.


