Quick Start Guide: Deploying Your VeilNet Rift Node #
Prerequisites #
Before you begin, ensure you have:
- Docker and Docker Compose are installed on your system.
- A valid
config.yaml
configuration file (Will be generated for you). - A WireGuard Client software, which you can download from https://www.wireguard.com/install/
For any questions or technical support, please contact me at support@veilnet.org.
If you encountered an issue or bug, please report it at https://github.com/ulfaric/veilnet-rift/issues
Step 1. Register your VeilNet Account #
To register for VeilNet, simply navigate to the VeilNet Console. On the landing page, click the Sign Up link as shown in the figure below.

Then fill in the simple registration form. During current public test phase, your email will not need verification.

The Home Page #
Once registration is complete, you will be redirected to the home page as shown below. The home page contains five tabs to manage your Rifts, domains, services from subscriptions and preference settings.

Create your fire Rift! #
On the Rift tab, all your Rifts under all domains you have access to will be listed. To create a new Rift, simply click on the “Create Rift” button. Then a dialogue will pop up to prompt for the information needed. You will need to select which domain this new Rift belongs to and give it a unique name. You could also put in an optional description.
Then, click on the create button. Your Rift will be created in seconds! If the Rift does not show up, simply click on the “Refresh” icon to refresh the list.

Each domain panel can be expanded to show the Rifts you own under it. Each Rift list tile has two trailing icons. Clicking the “Download” icon will show the deployment dialogue, and clicking the “Trash” icon will remove the Rift permanently (It is not reversible).

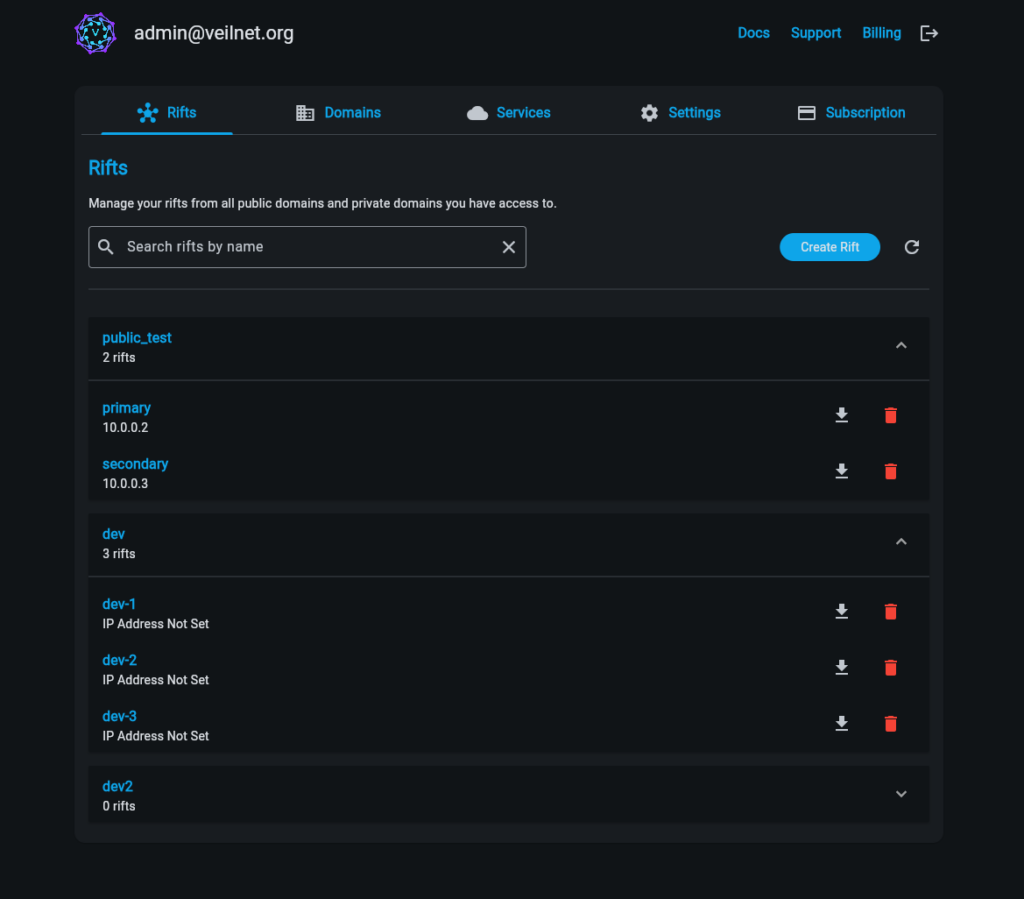
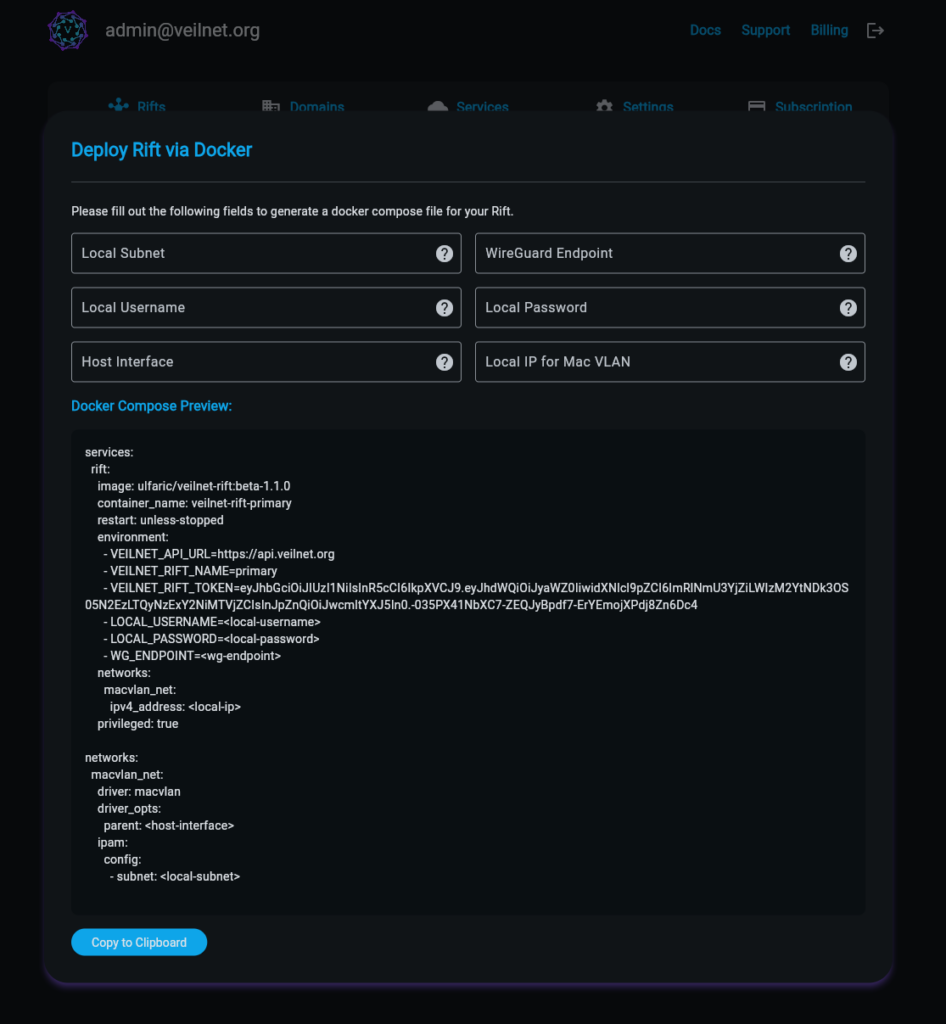
After clicking on the “Download” button, unfortunately, VeilNet Rift will not be magically deployed on your machine.
A new dialogue will pop up and prompt for the necessary information. If you do not know what to fill in, the help icon will explain what is needed in each field.

After all the information is filled in. Simply copy the generated Docker Compose template and save it as “docker-compose.yml” on your Docker host. Then,
docker compose up
And that’s it! You just successfully deployed your first VeilNet Rift and contributed to an ephemeral secure network! To run it in the back ground, simply do:
docker compose up -d
To stop the VeilNet Rift, simply do:
docker compose down
Next Step #
Check out next chapter about how to add WireGuard peers to your Rift, or add local network for site-to-site VPN.