Local Login Page #
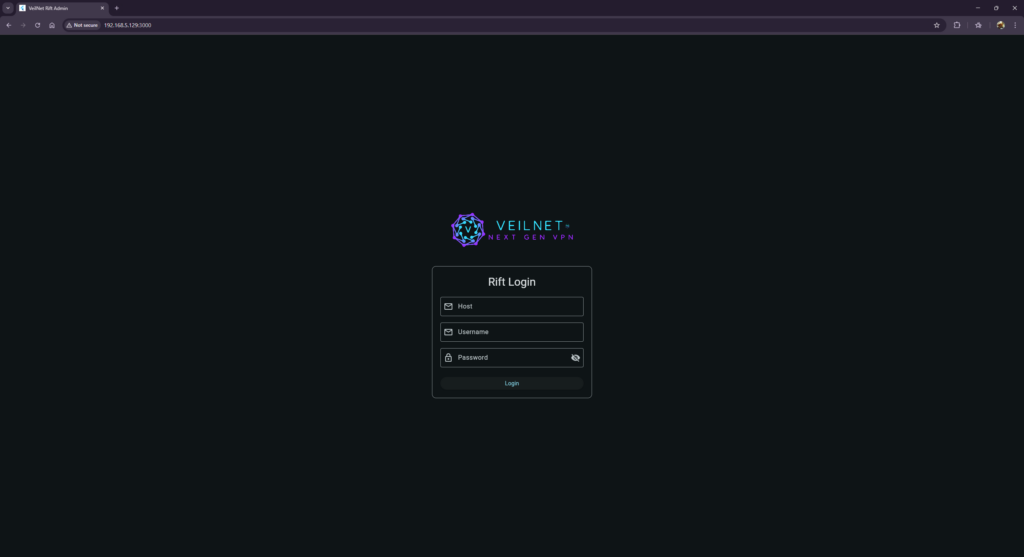
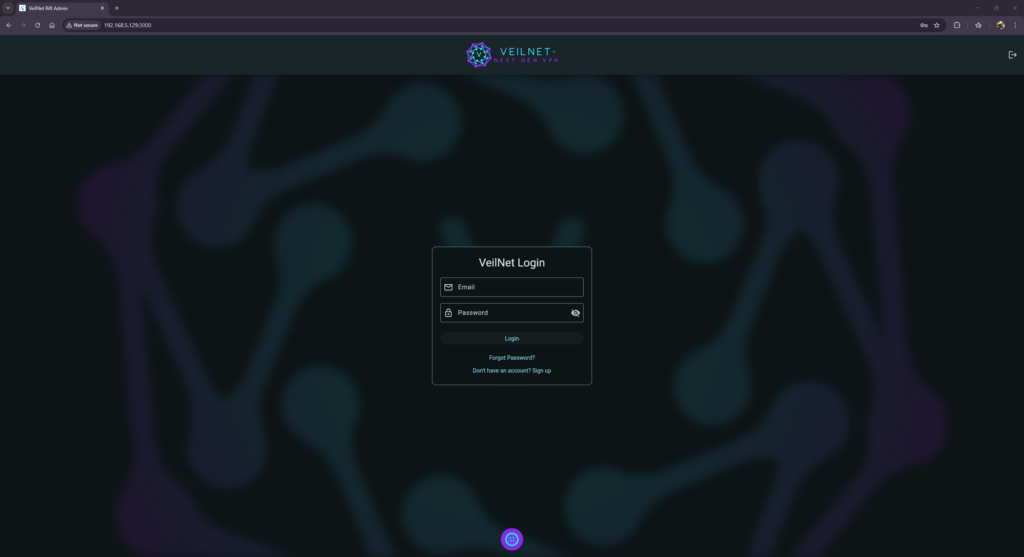
To access the admin UI, you should enter http://<rift-instance-ip>:3000. Then the first page you will see is the local login page:
- Host: the IP address of the Rift instance you would like to manage. (Yes, the UI itself is a microservice that allows you manage any Rift instance)
- Username: the local username you set in the config.yaml
- Password: the local password you set in the config.yaml
Home Page #
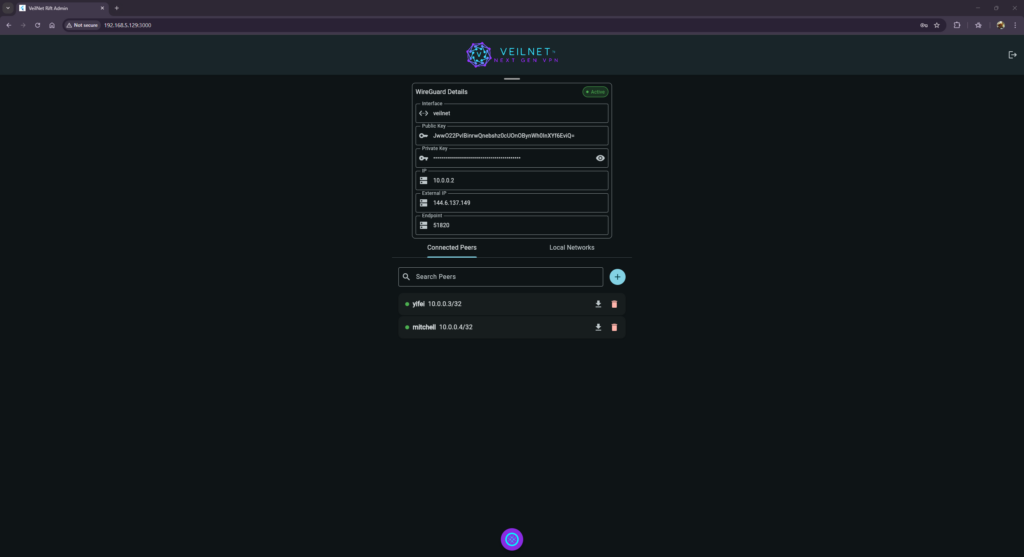
This is the home page after you successfully logged into the Rift instance. On top, it will shows the details regarding the WireGuard TUN interface. Below that, there are two taps for you to create WireGuard peer or enable routing to local networks.
Add Peer #
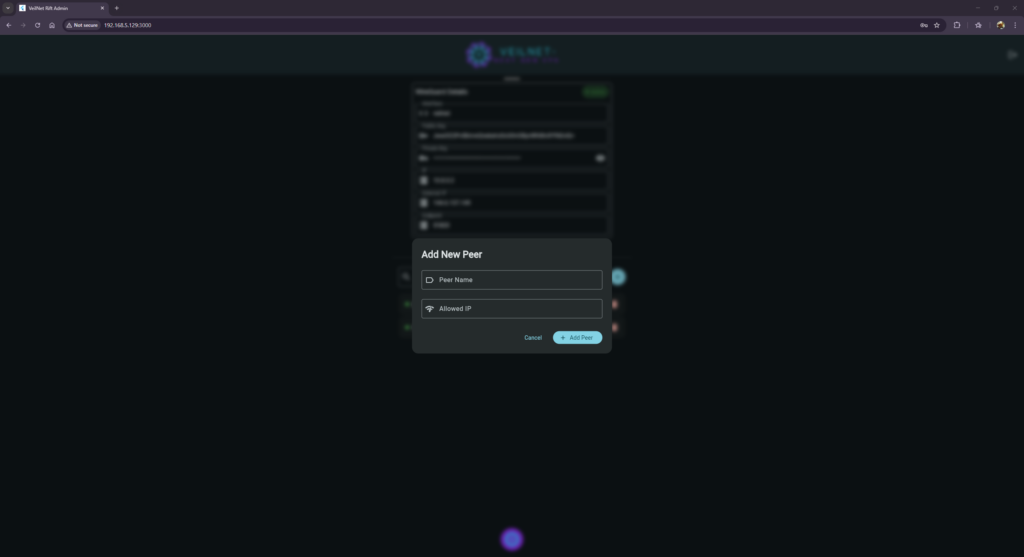
A new peer could be easily added by clicking the plus icon button besides the peer search bar. A pop up will show up prompting you for the peer name and IP. Simply input them and click on “Add Peer” button, then a new peer will be created for you. If you own the IP registration of the IP used by the new peer, the rift module will be automatically enabled for this peer. The “green” or “red” dot besides each peer’s name, indicating if the Rift Module is functional.
Add Local Network #
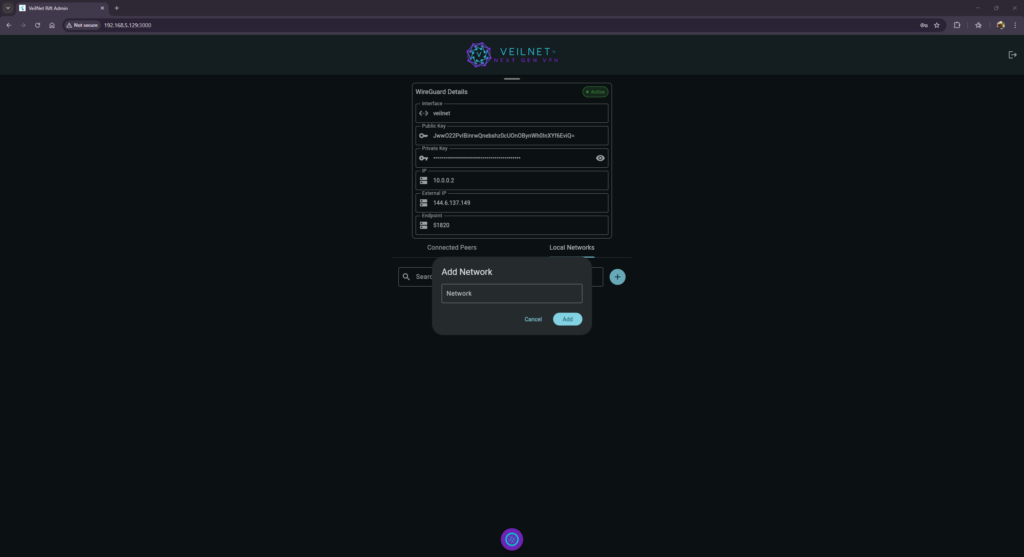
To enable routing to any local network, simply switch to the local network tab, and click on the plus icon button. A pop up will prompt you for the local network to be added. You should input as “x.x.x.x/x” subnet format.
Rift Management Page #
The Rift management page is hidden. 🙂
Just as the secrecy VeilNet represents! To access the page, you have to click the floating button located at the bottom centre. Then, a new login page will show:
On this page you can login with your VeilNet account. (It is not the account you register on this website) If you do not have an account, simply register one by click the “Sign up”. If you forget your password, you can also reset your password by click “Forget Password?”.
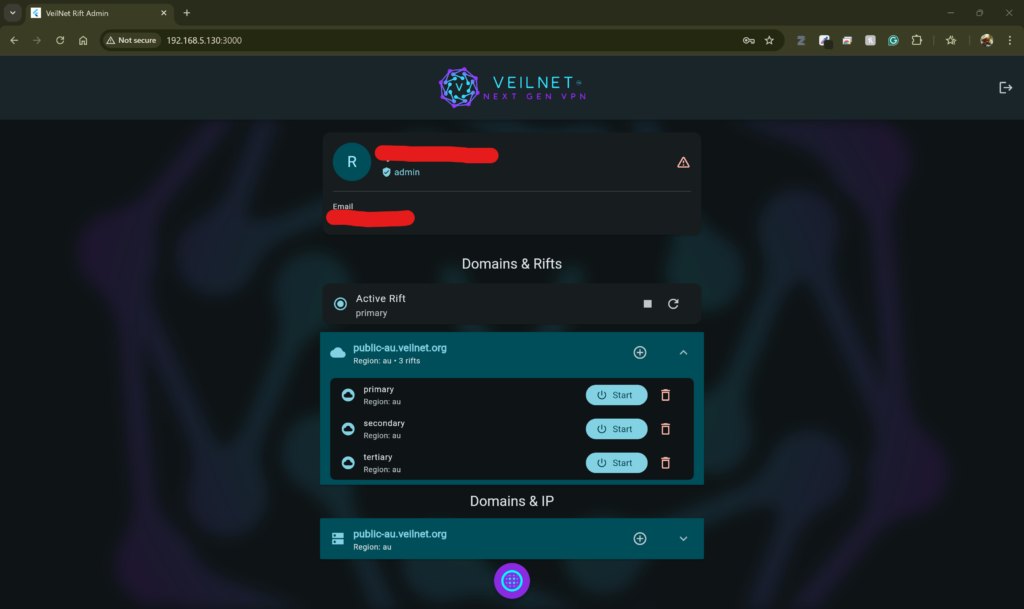
Register a new rift #
On this page, you will see your account information, the active Rift and a list of Rifts you have registered. To stop the Rift module, simply click on the square icon button, which will disable the Rift module and the instance will become a regular WireGuard Hub. To enable Rift module, simply click on any “Start” button in the Rift list under any domain. To add a new rift, simply click on the plus icon button. Then a pop up will prompt your for information needed to register a Rift.
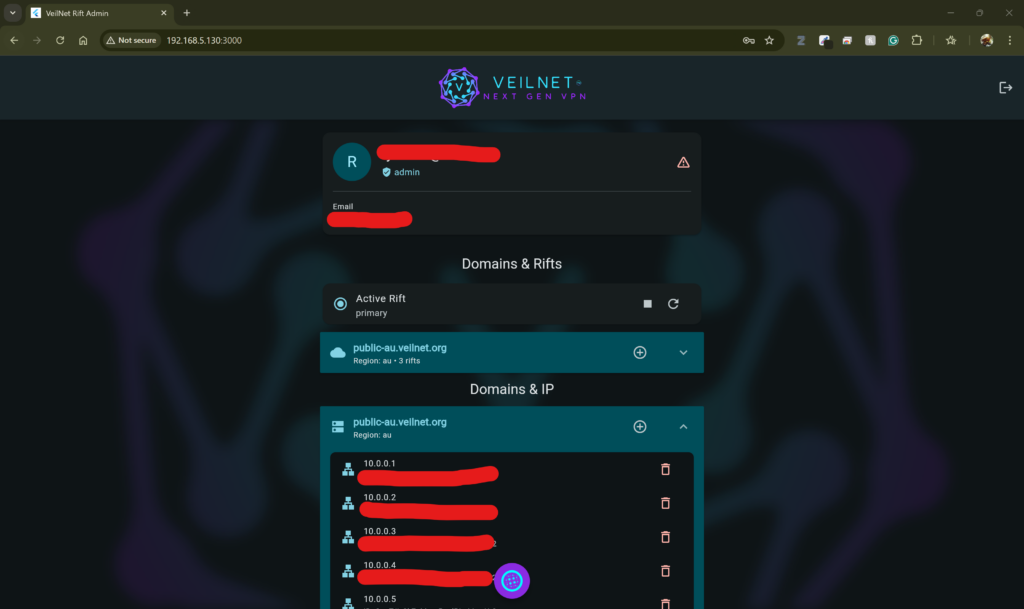
Register a new IP #
To register a new IP, simply click on the plus icon button. Then, a pop up will prompt you for information to register a IP. The IP address is allocated based on “first-request-first-get” principle. If the IP you chosen is already registered by another user, simply chosen any other one within “10.0.0.0/8” subnet. 🙂
It is like creating a character in a video game, your character name maybe used by another player already. Please note that no personal information or device information is collected during IP registration.
It is also your repsonsibility to ensure you do not have peers using the same IP on different rifts.


