๐ ๏ธ Creating a Private Plane in VeilNet #
Private Planes allow you to establish a completely isolated, trusted overlay network within the VeilNet ecosystem. Only members you explicitly authorize can connect, and no other Portal or Rift outside the plane will be able to access, see, or relay your traffic.
๐ Private Planes are available to users with Team or above service tiers.
Step 1: Upgrade Your Service Tier #
Before you can create a Private Plane, ensure your account is eligible:
Log in to your VeilNet Console
Navigate to Subscription
Select Team or above tier
Complete the upgrade process

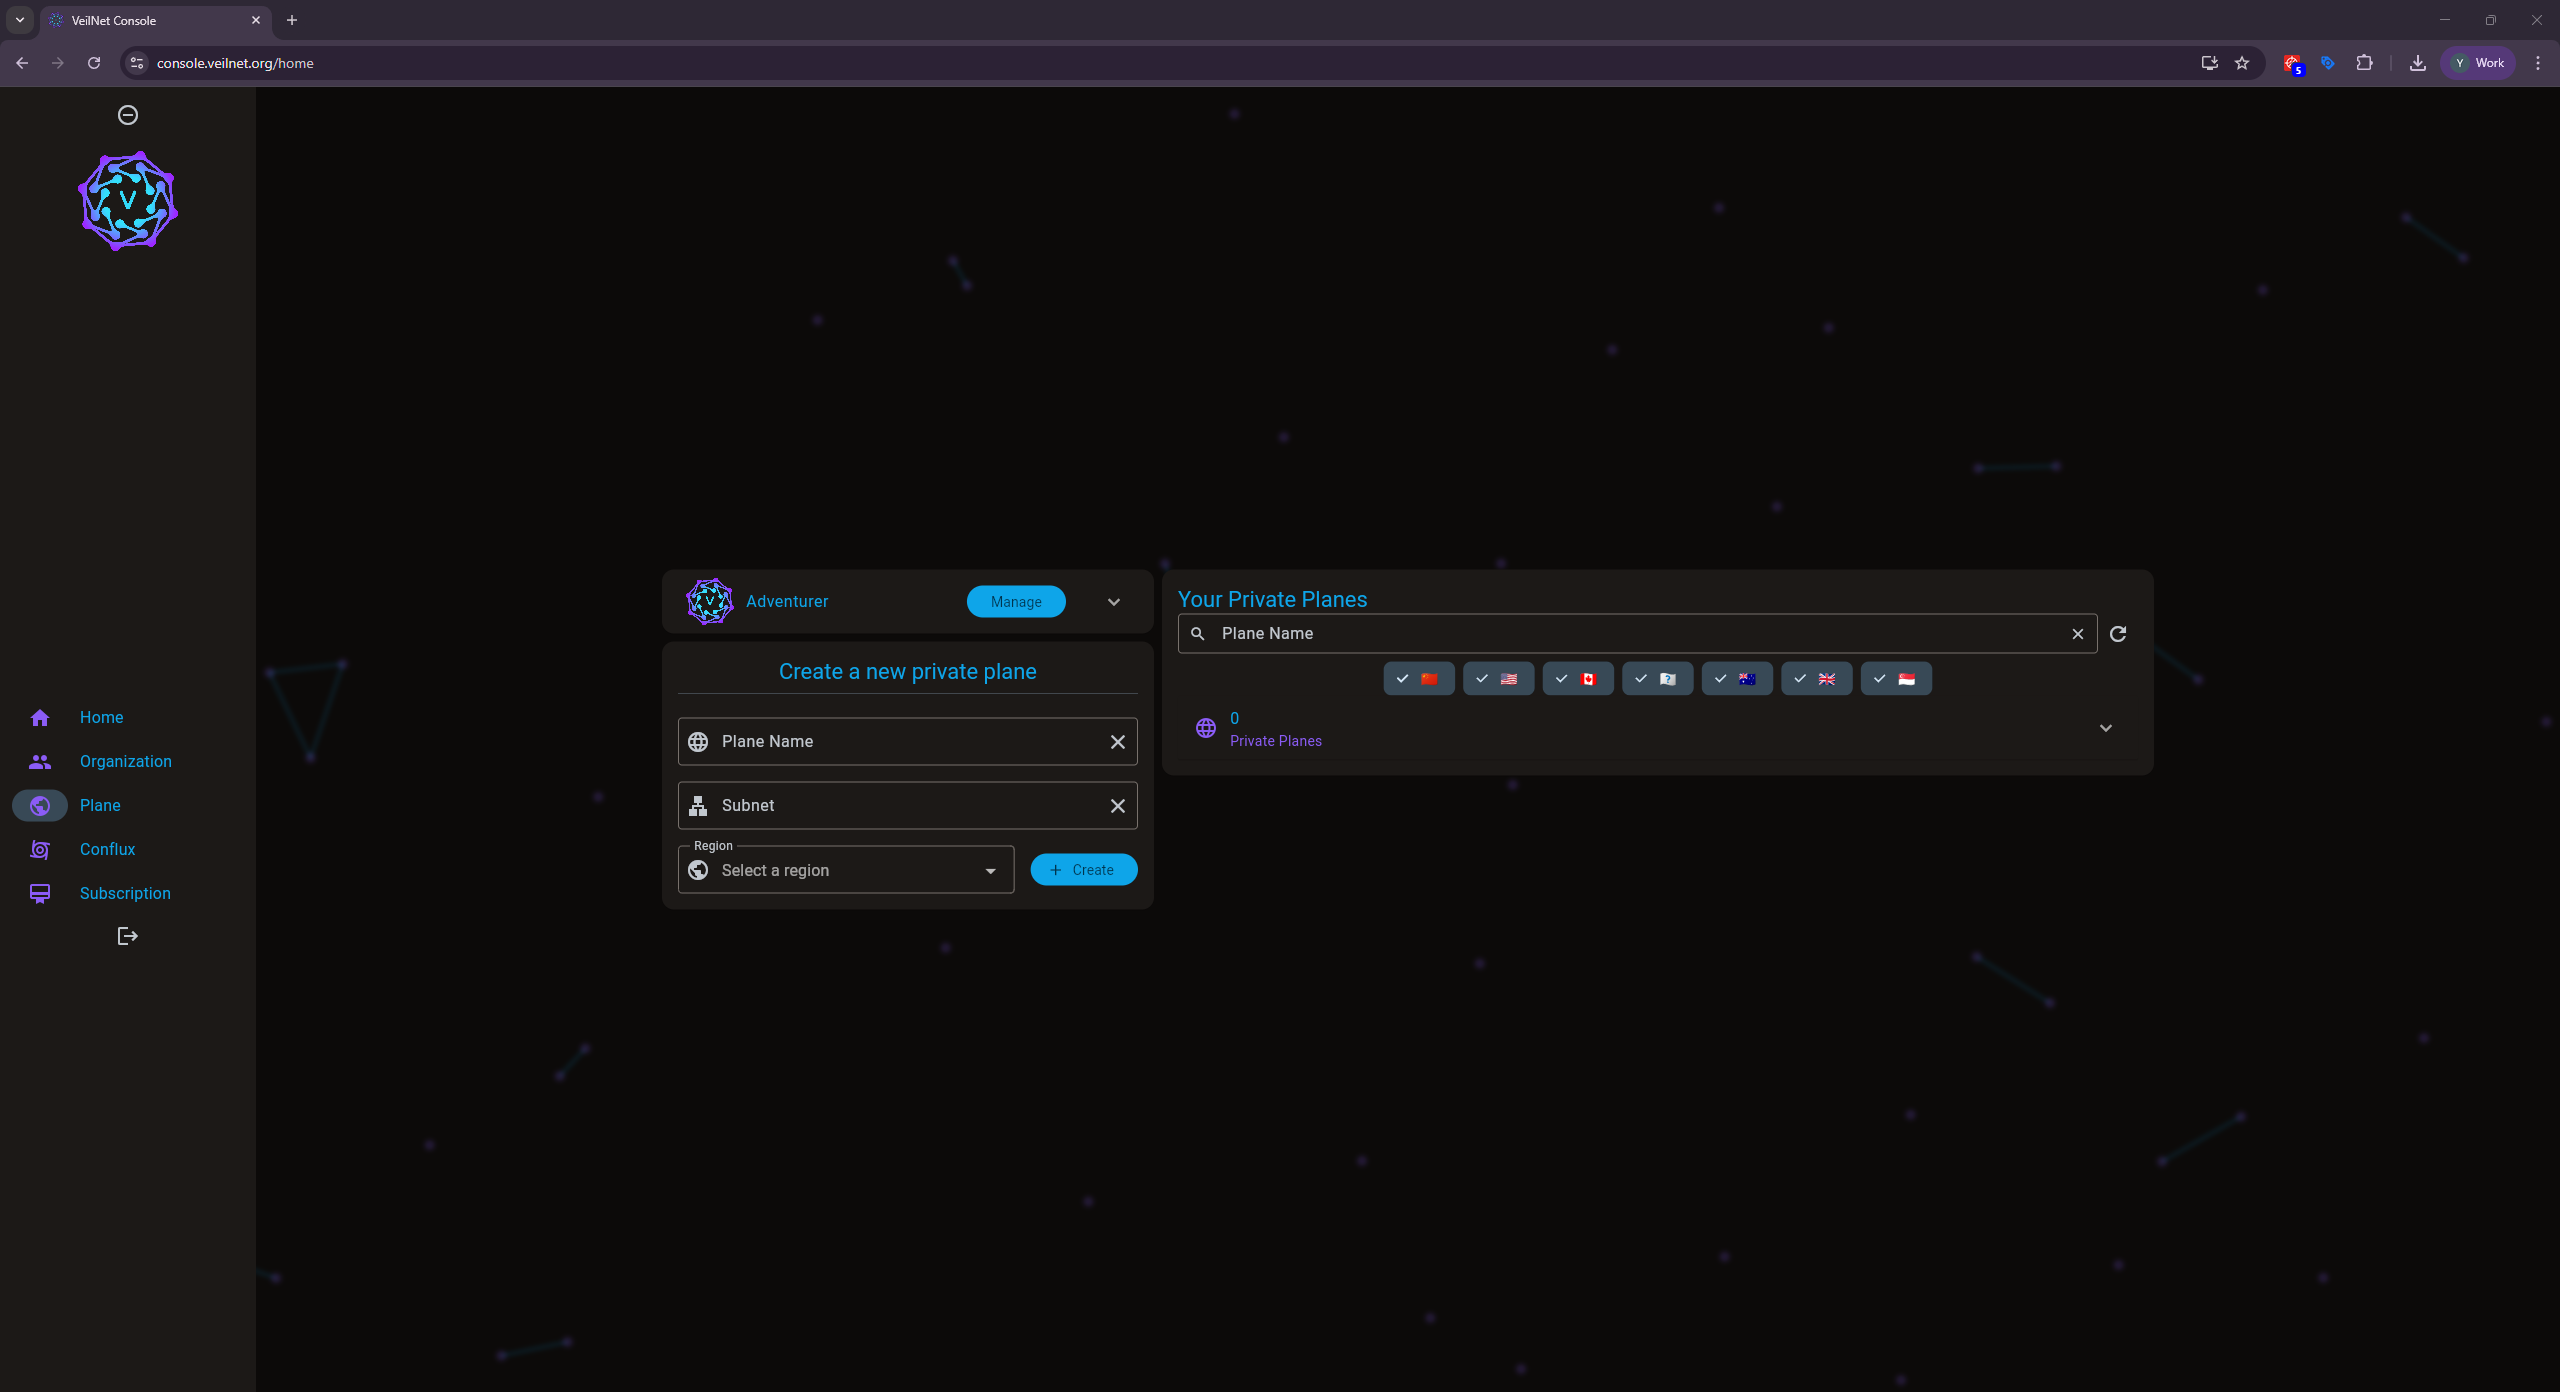
Step 2: Create the Plane #
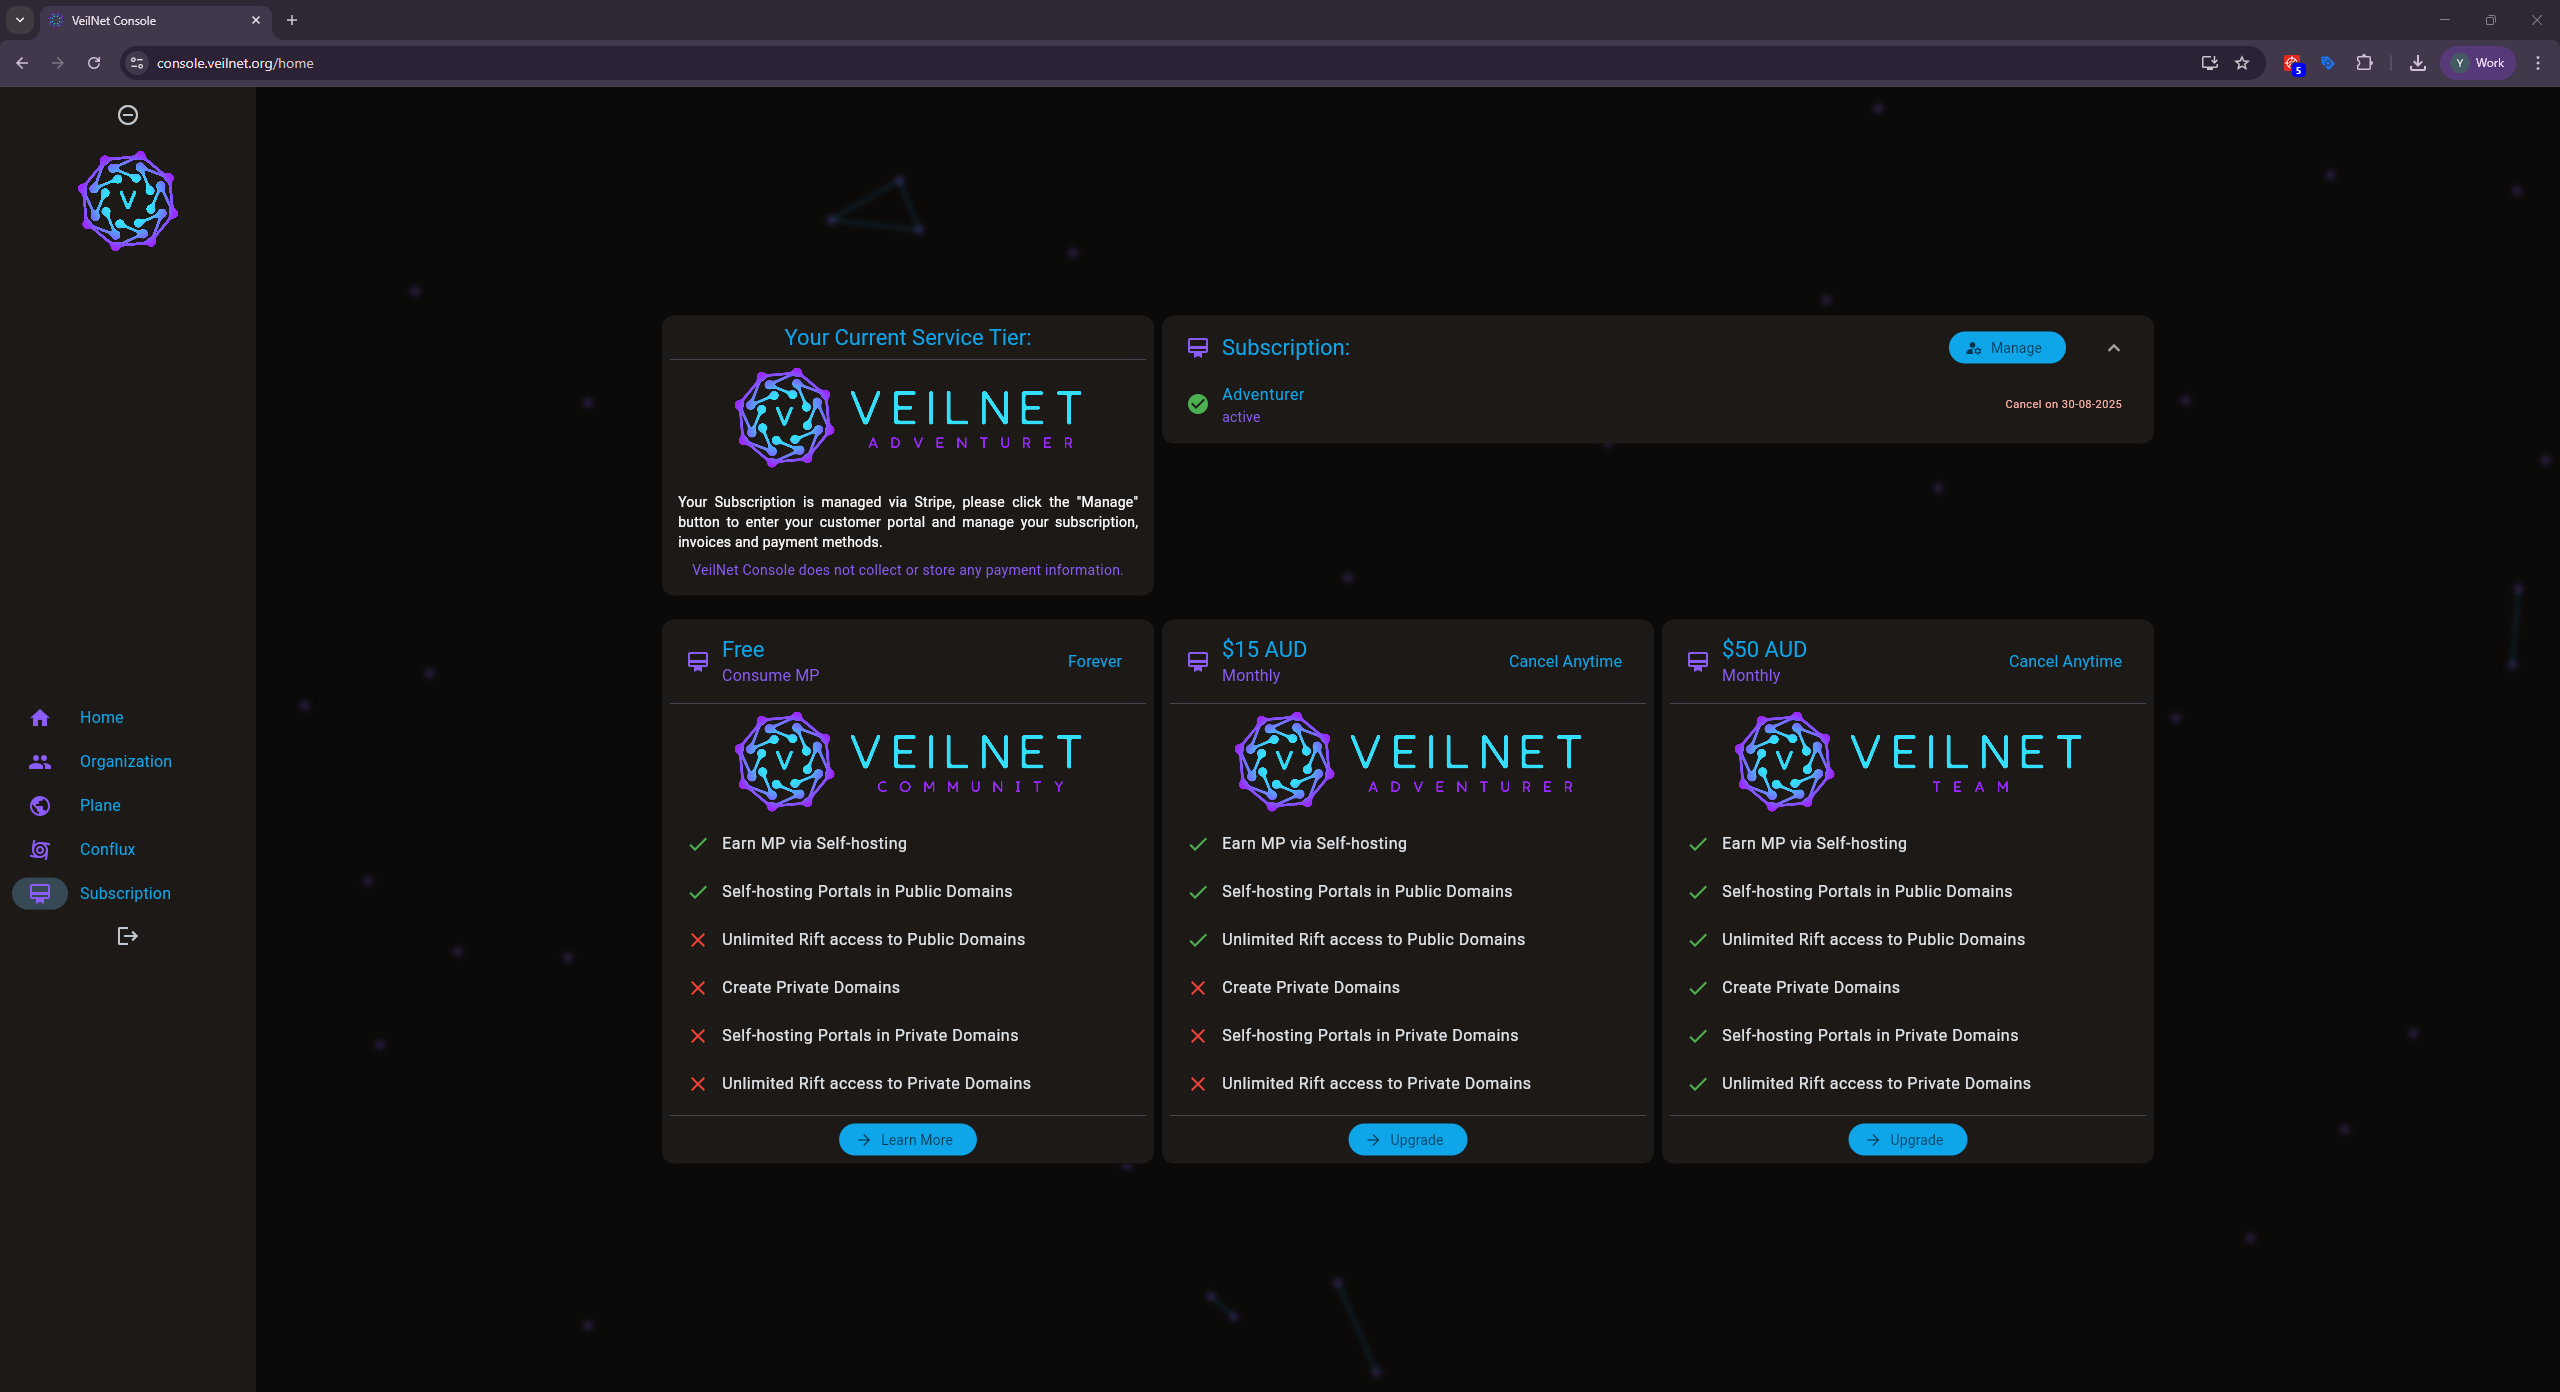
Once your subscription tier is upgraded:
Navigate to the Planes section from the left-hand menu.
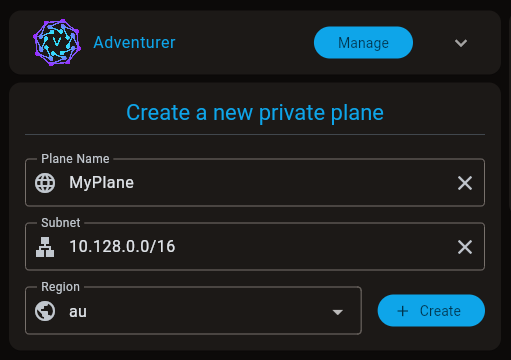
Under Create a new private plane, fill in the following:
Plane Name โ choose a name (e.g.,
alpha.internal
)Subnet โ specify a valid private IP range (e.g.,
10.12.0.0/16
)Region โ select a deployment region (e.g.,
UK
,SG
,US
)
Click the โ Create button
Your new Private Plane will appear on the right under Your Private Planes.
โ ๏ธ Make sure the subnet you choose does not overlap with internal Kubernetes or VPC ranges used by your infrastructure.

Step 3: Deploy Portals #
Once your Private Plane is created, the next step is to deploy one or more Portals โ these serve as entry/exit points and relay nodes for devices in your plane.
โ The deployment process is identical for both Public and Private Planes.
To deploy a Portal: #
Navigate to the Confluxย section in the Console.
Click Add New Conflux.
Assign the Portal to your Private Plane and choose the matching region.
A deployment manifest (Docker Compose or Kubernetes) will be generated for you.
Use the provided token and configuration to deploy your Portal.
You can deploy using:
Docker Compose (standalone or server-based)
Kubernetes (via
kompose
conversion or Helm)
โ ๏ธ Ensure your Portal is in the same region as the Private Plane. Cross-region operation is not supported and will result in failed sessions.